Voila
This project is maintained by mantejjosan
Using GitHub CLI on x86/32-bit Windows
It is recommended that you first create your SSH key using the Git Bash guide. For instructions on how to do this, refer to the guide here.
Installation
You can skip to step 3 if you just want to see the download page and download.
Step 1: Search for GitHub CLI Availability
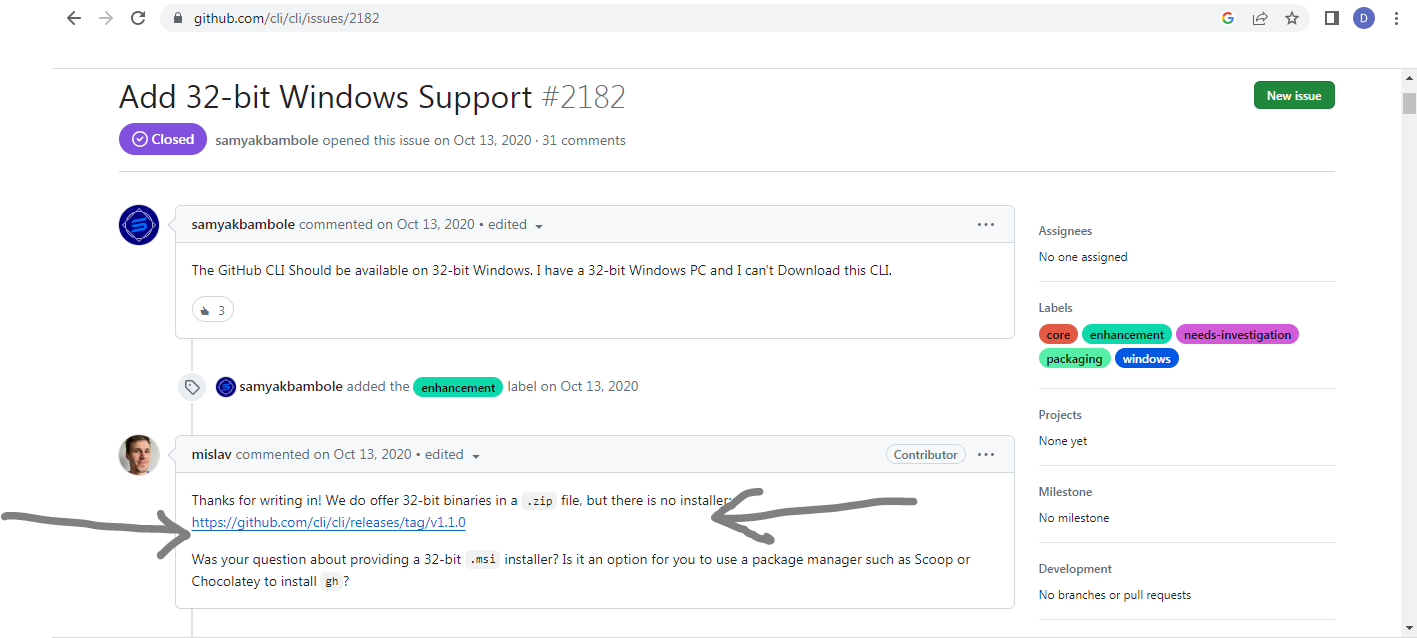
Start by searching for “Is GitHub CLI available on Windows 7 32-bit” in your preferred search engine. Click on the first link that appears in the search results.

Step 2: Access the Download Link
On the resulting webpage, locate and click on the link shown for downloading the GitHub CLI for Windows.
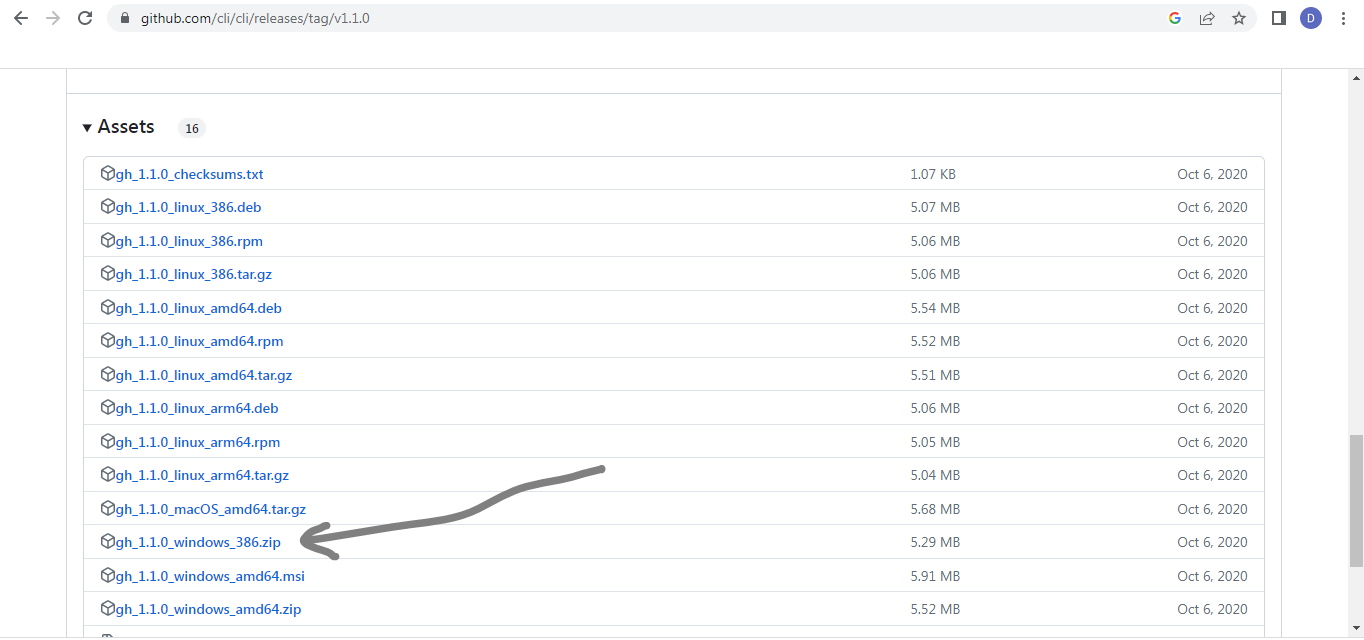
Step 3: Download the GitHub CLI
Scroll down on the download page and find the file named gh_1.1.0_windows_386.zip. Download this file to your computer.
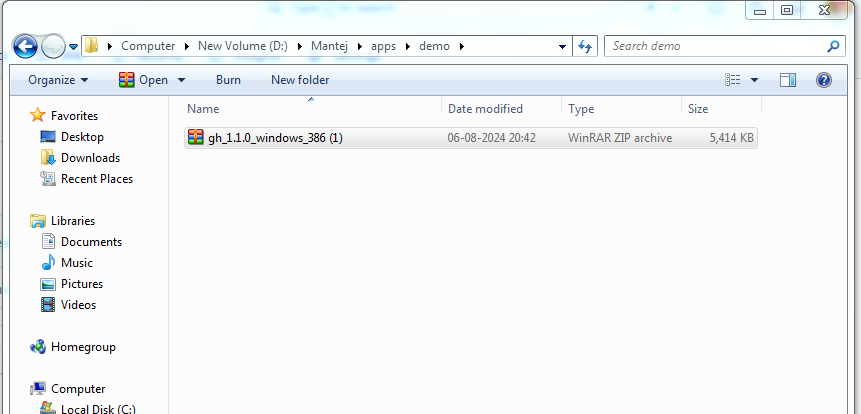
Step 4: Extract the Downloaded File
Locate the downloaded gh_1.1.0_windows_386.zip file on your computer and extract it. You can use a tool like WinRAR or the built-in Windows zip extractor.
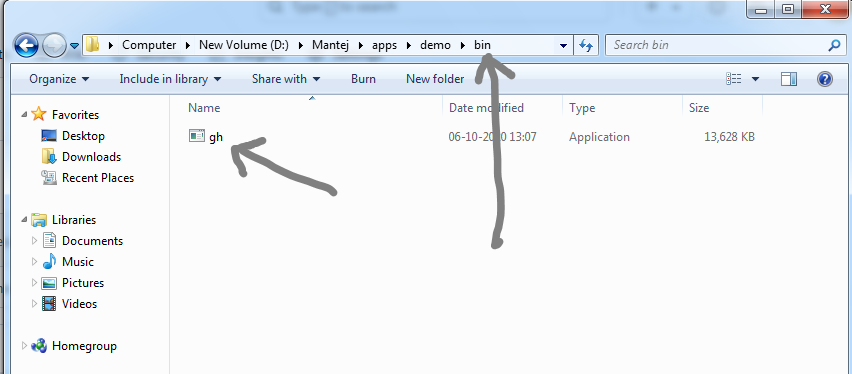
Step 5: Locate the Executable
After extraction, you will see a bin folder created with an executable file named gh inside it. You can run this executable directly, but it will only prompt you to open the Command Prompt and run the gh command.
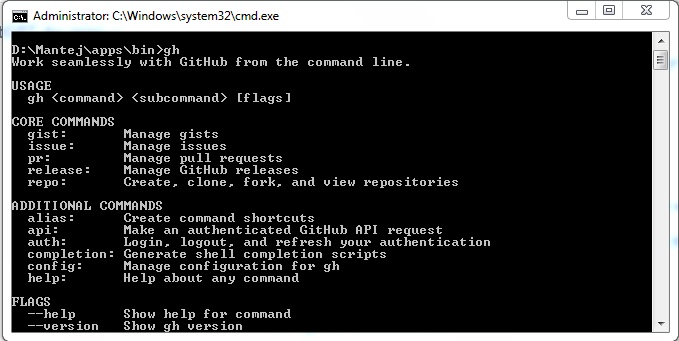
Step 6: Verify Installation
To verify that GitHub CLI is correctly installed, open the Command Prompt. Press Windows + R, type cmd, and hit Enter. In the Command Prompt window, type gh and press Enter.
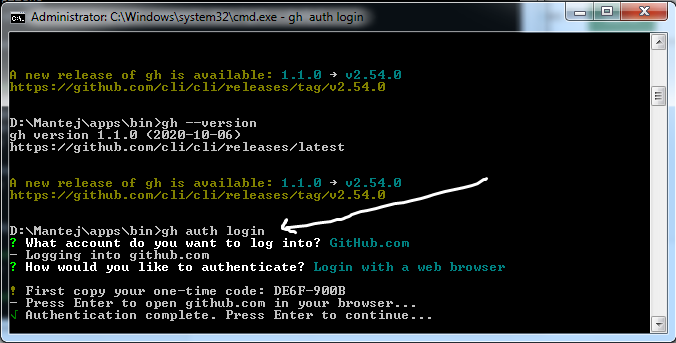
To check the installed version, type gh --version and press Enter.
Usage
Step 1: Authorize GitHub CLI
To start using GitHub CLI, you need to authorize it with your GitHub account. Type the following command in the Command Prompt:
gh auth login
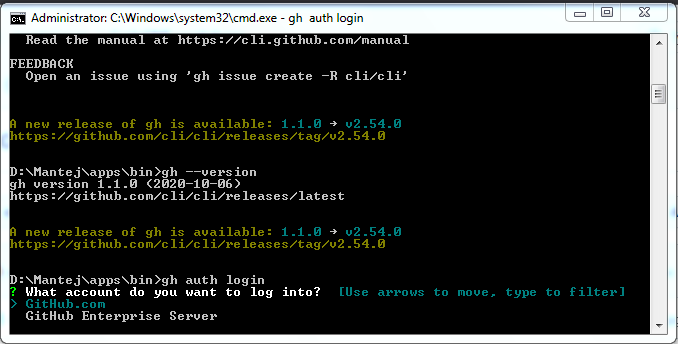
Step 2: Choose Authentication Method
When prompted, choose “GitHub” among the options: GitHub or GitHub Enterprise.
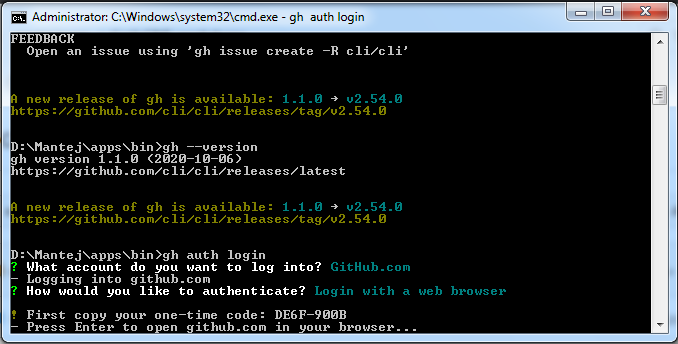
now choose login with web browser from the option next.

Step 3: Copy the One-Time Code
A one-time code will be provided. Copy this code and press Enter in the Command Prompt.
Step 4: Authenticate on GitHub
Sign in if not already done like this:
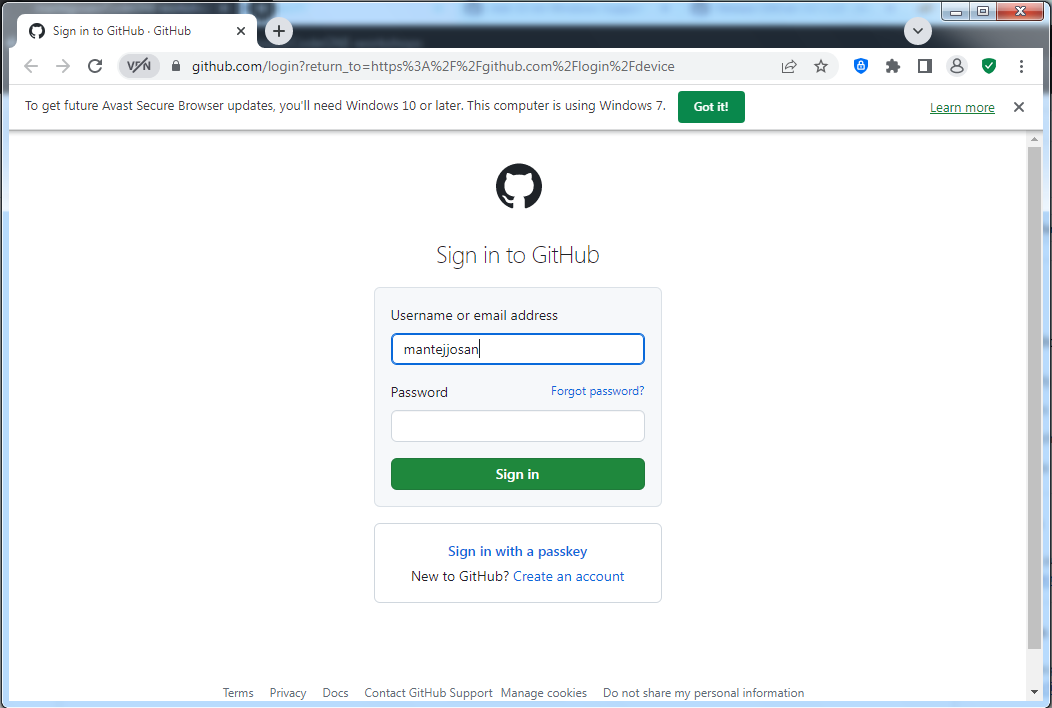 Paste the code into the GitHub authentication page that opens and click “Authenticate.”
Click continue.
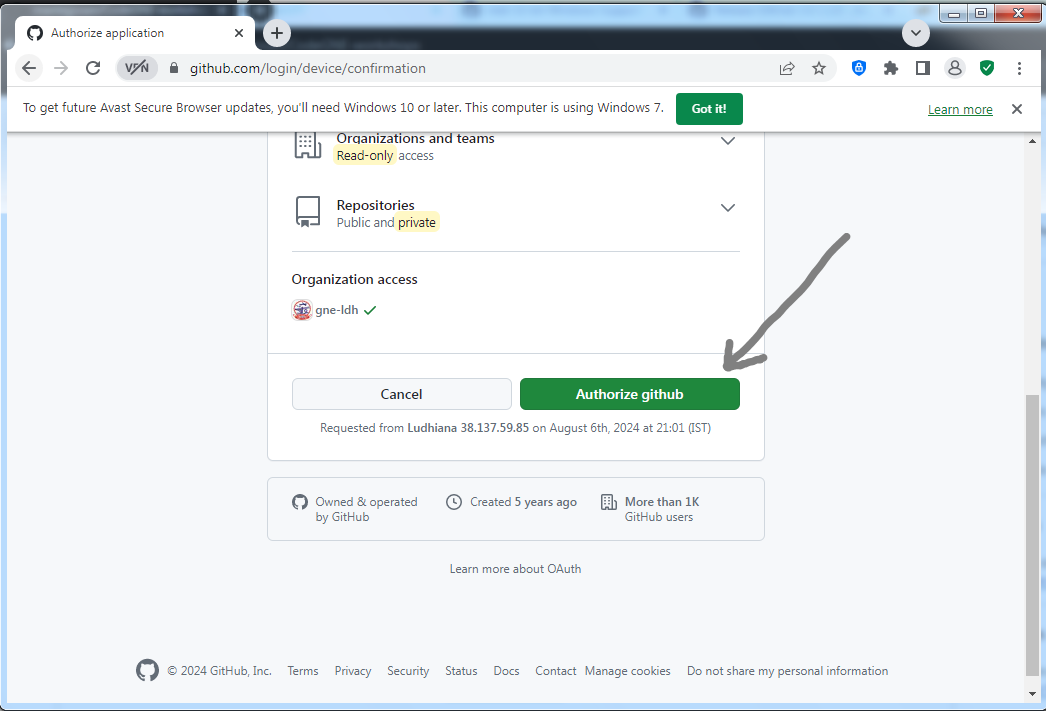
Step 5: Grant Access
You will be asked to grant access to GitHub CLI. Confirm and grant access.
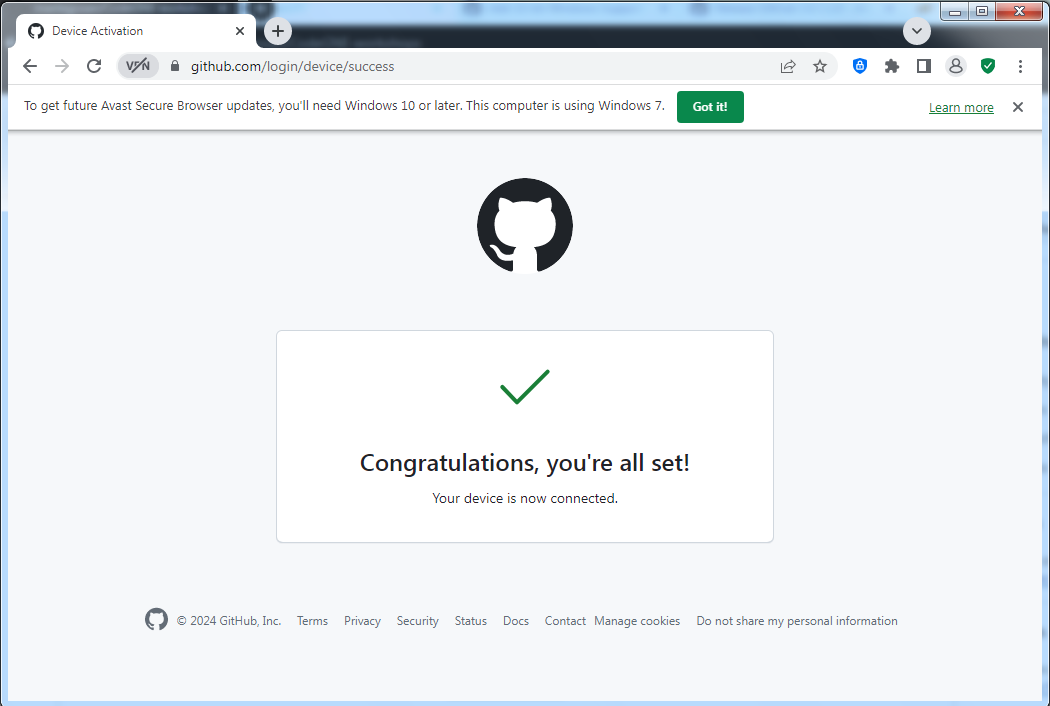
Step 6: Complete Setup
Once the authorization is complete, you are ready to use GitHub CLI for various tasks directly from the Command Prompt.
Using GitHub CLI
With GitHub CLI authorized, you can perform actions similar to those available on the GitHub website directly from the Command Prompt. For example, to create a new repository, use the following command:
gh repo create new-repository-name --public --description "This is a tutorial repo"
Replace "This is a tutorial repo" with a meaningful description of your repository.
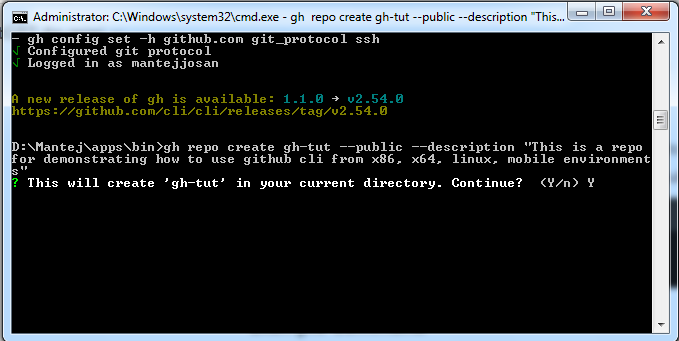
Enter yes.