Voila
This project is maintained by mantejjosan
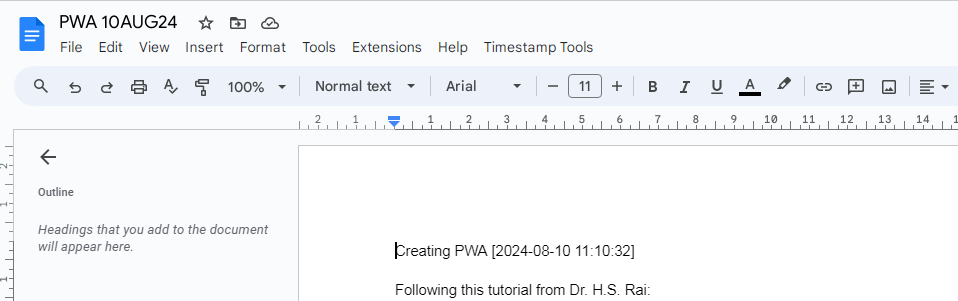
Insert Timestamp Quickly In Google Docx for LIVE REPORTING
Setup in 3 minutes!
To automatically insert timestamps in Google Docs, you can use Google Apps Script to create a custom function. Here’s a step-by-step guide to set it up:
1. Create a Google Apps Script
Open Your Google Doc: Open the Google Doc where you want to insert timestamps.
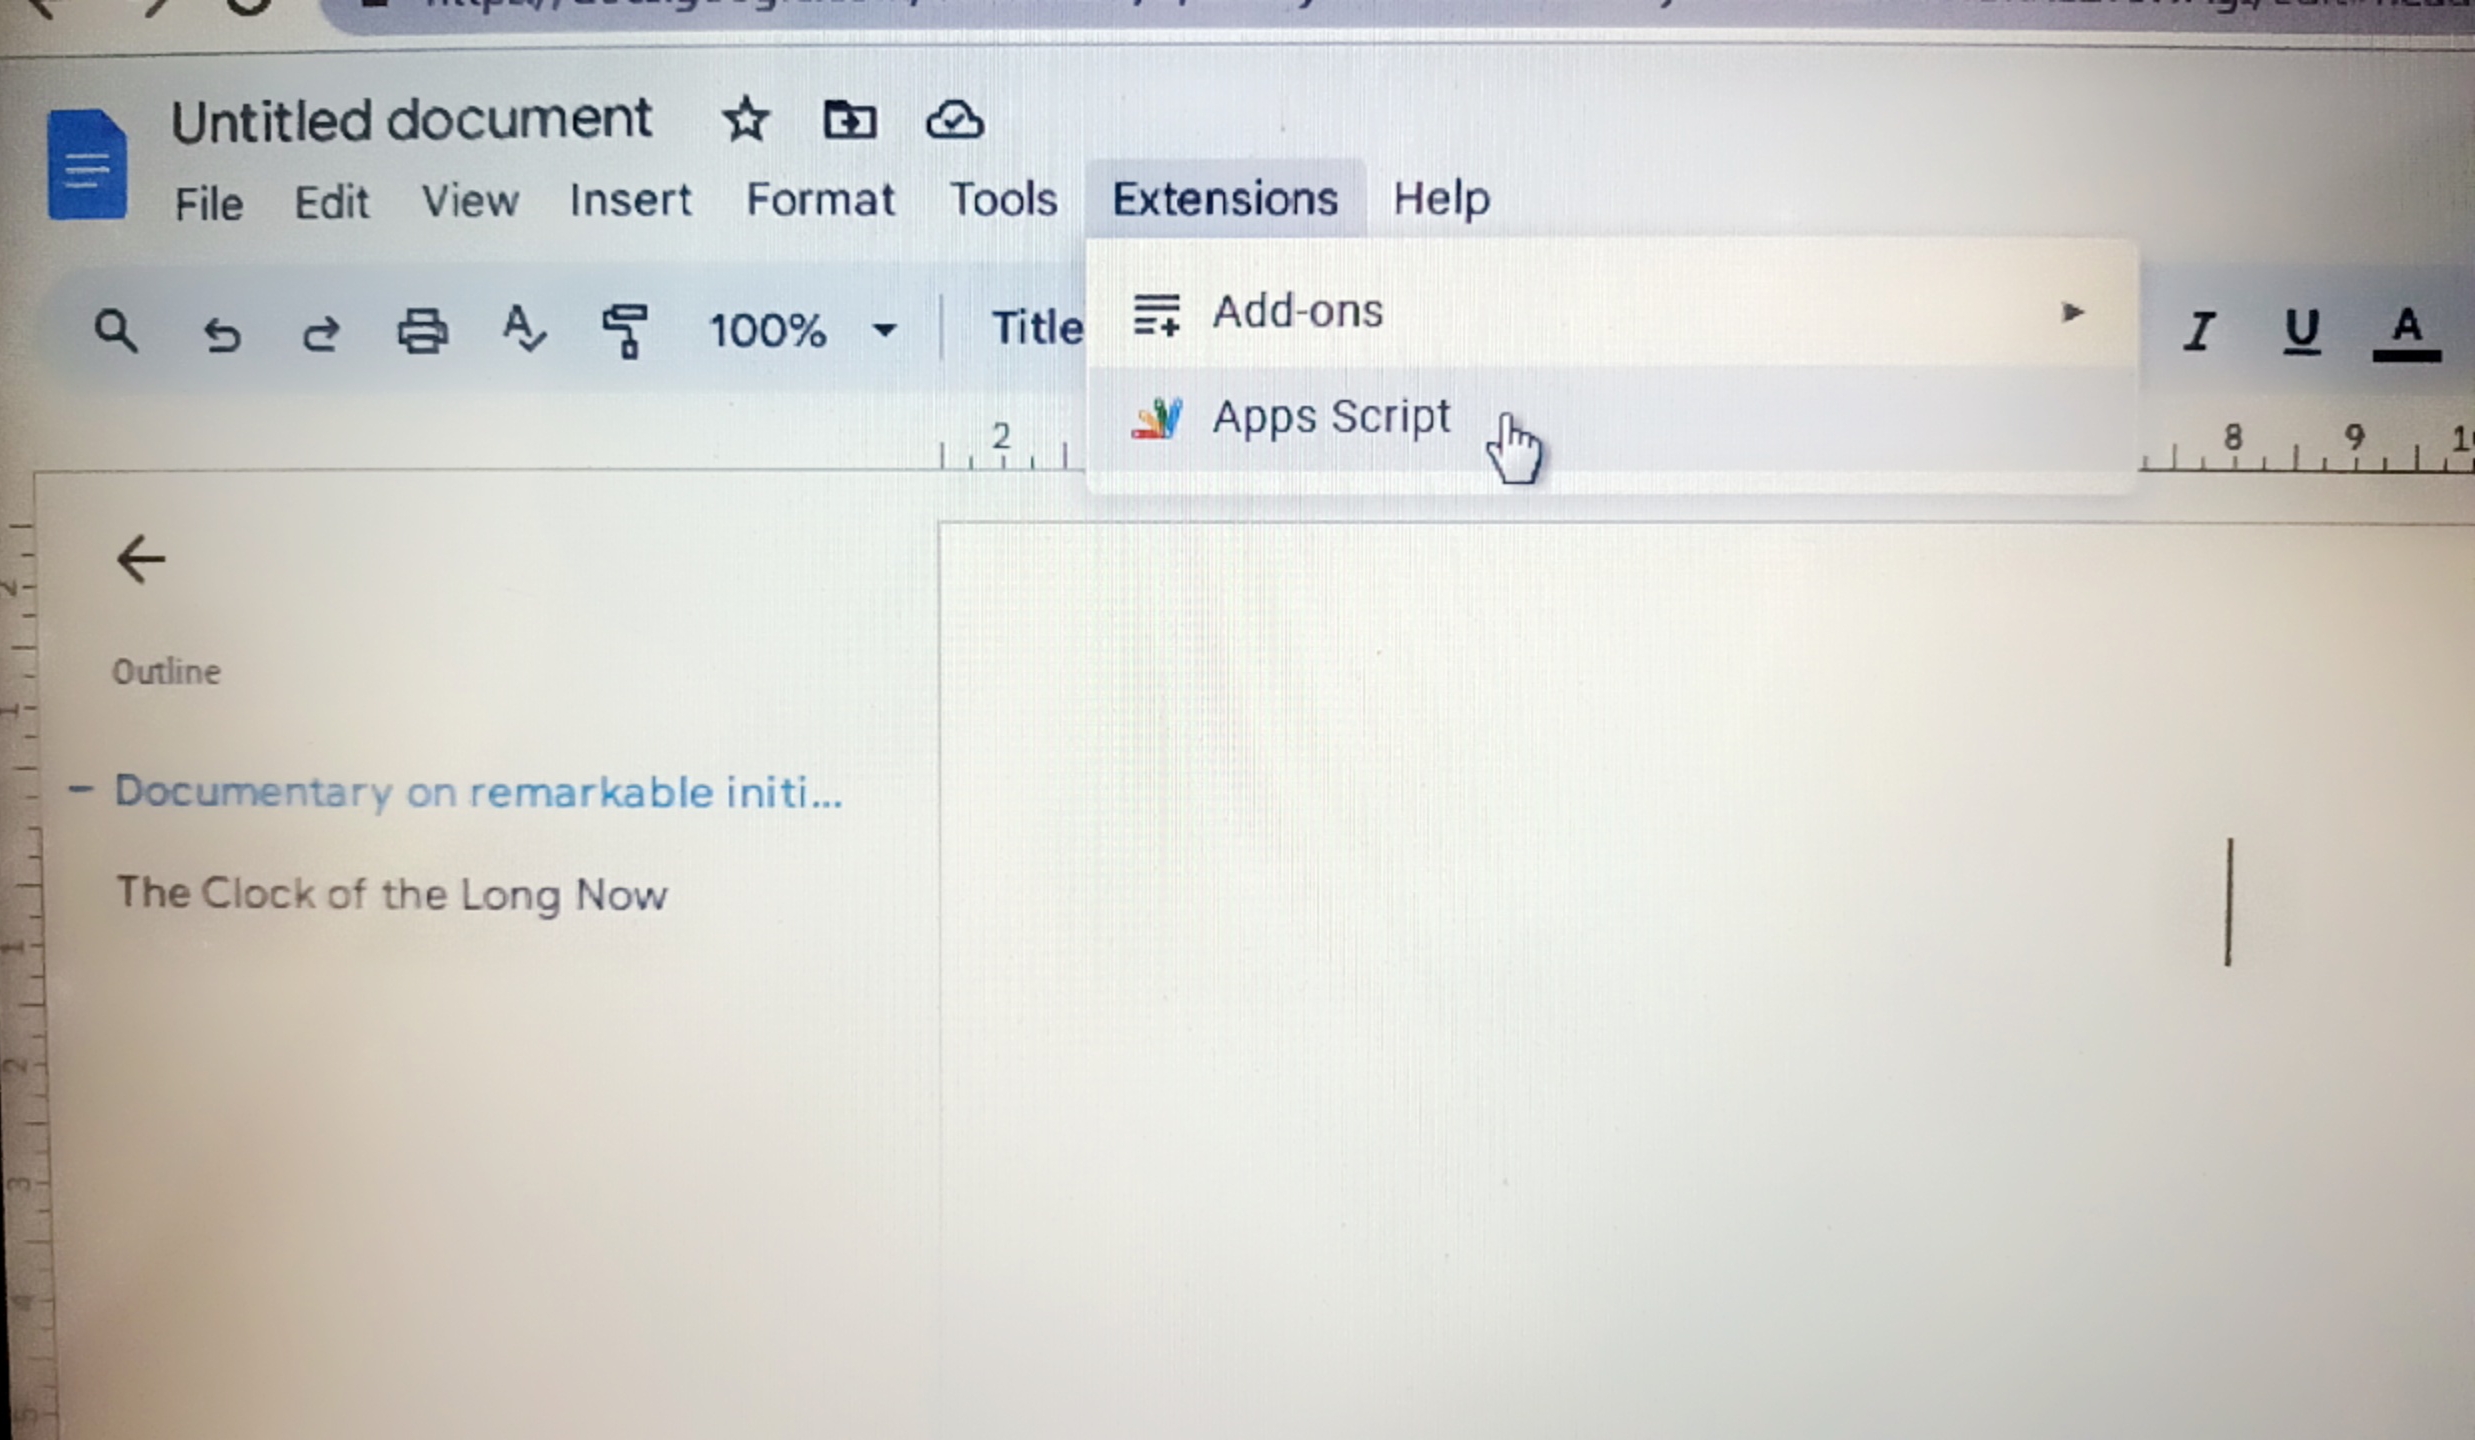
Access Apps Script:
Go to Extensions > Apps Script.
Create a New Script: Delete any code in the script editor and paste the following javascript code:
// Function to insert a timestamp
function insertTimestamp() {
  var doc = DocumentApp.getActiveDocument();
  var body = doc.getBody();
  var date = new Date();
  var timestamp = Utilities.formatDate(date, Session.getScriptTimeZone(), 'yyyy-MM-dd HH:mm:ss');

  // Insert the timestamp at the cursor position
  var cursor = doc.getCursor();
  if (cursor) {
    cursor.insertText("["+timestamp+"]");
  } else {
    // If no cursor, append the timestamp at the end of the document
    body.appendParagraph(timestamp);
  }
}

// Function to create a custom menu
function onOpen() {
  var ui = DocumentApp.getUi();
  ui.createMenu('Timestamp Tools')
    .addItem('Insert Timestamp', 'insertTimestamp')
    .addToUi();
}
2. Save the Script
Click the floppy disk icon or go to File > Save. Name your project (e.g., “Timestamp Inserter”). Authorize the Script:
3. Authorize the Script
The first time you run the script or add it to your Google Doc, you’ll need to authorize it. Click on Run (the play icon) in the Apps Script editor and follow the authorization prompts. Refresh Your Google Doc:
4. Enjoy!
Reload your Google Doc to see the new menu item. Use the Custom Menu:
Go to Timestamp Tools in the menu bar and select Insert Timestamp to insert the current timestamp. It should look like this: